Monday 1 September 2008

My Unemployment Trip to Adirondacks Park

Unemployment Trip to Adirondacks National Park
“What is the good of being a genius if you cannot use it as an excuse for being unemployed?”
Gerald Barzan
Day 1:

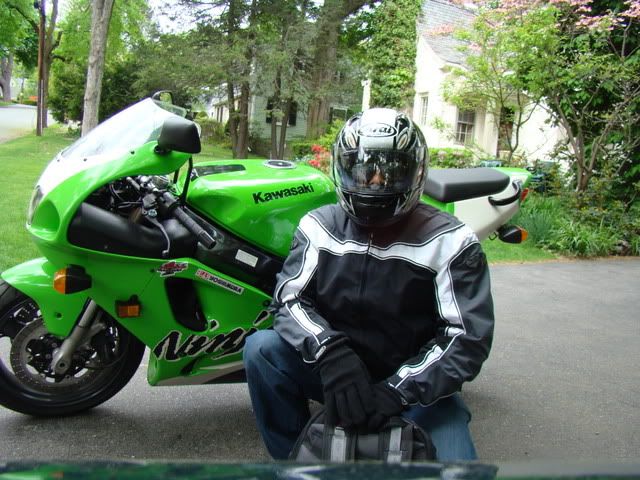
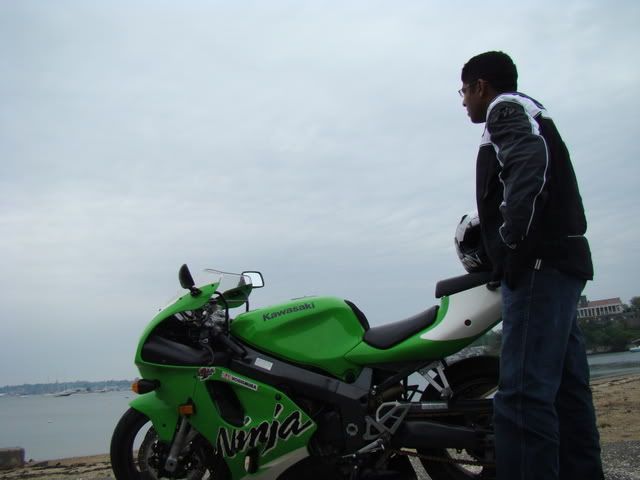
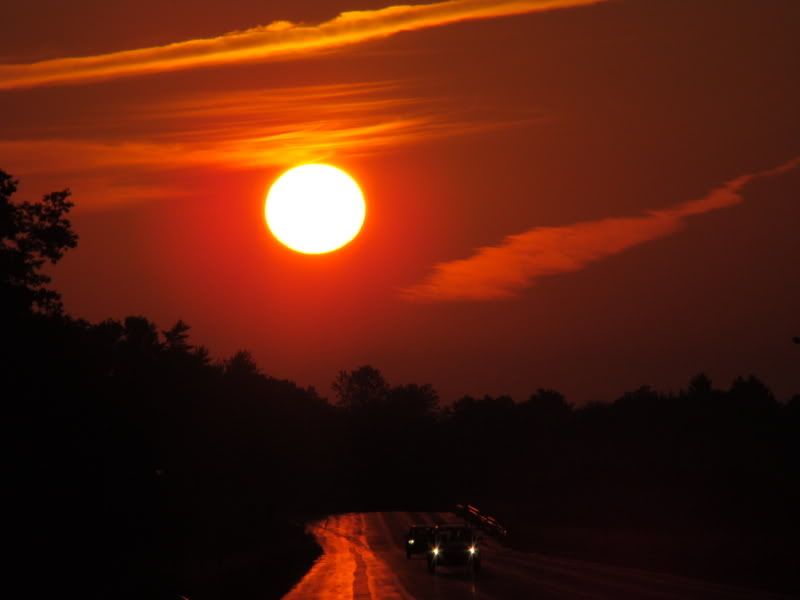
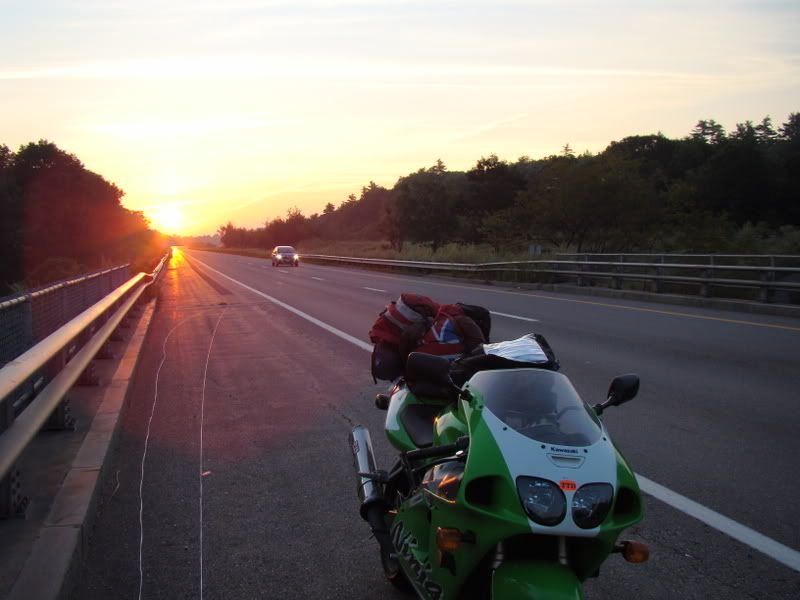
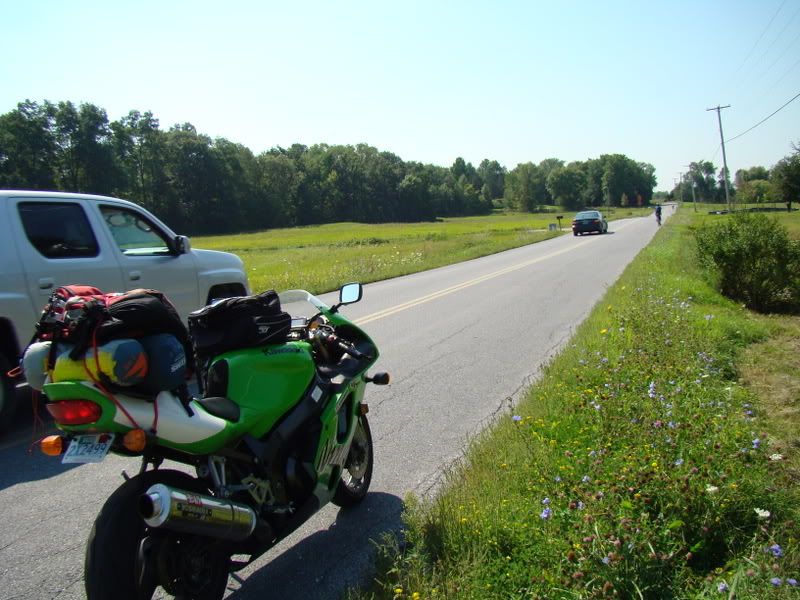
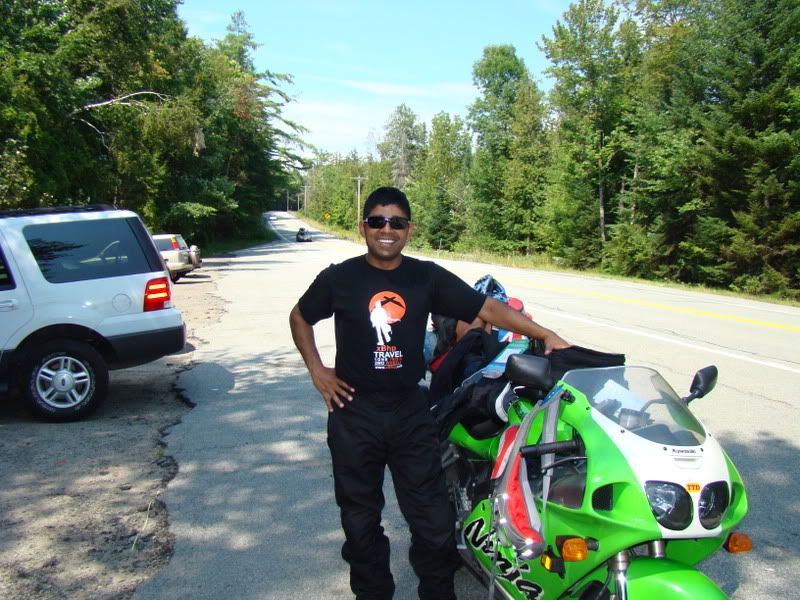
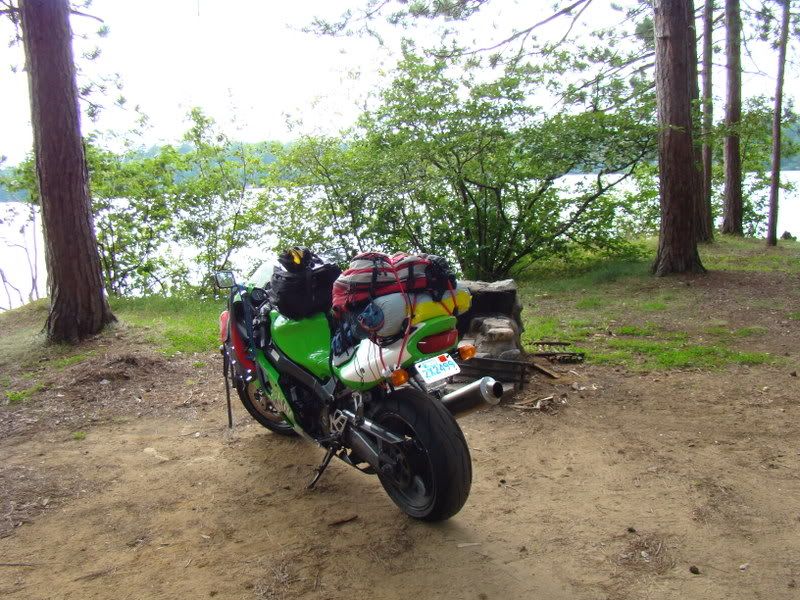
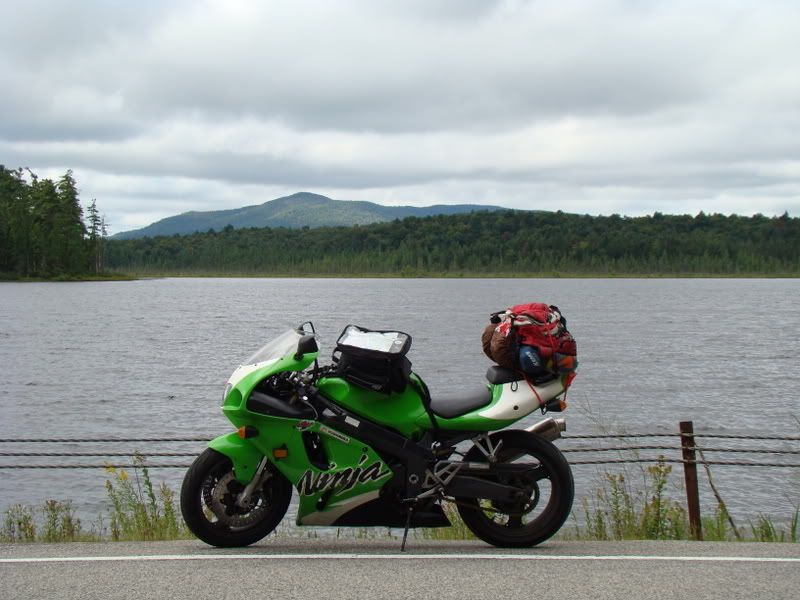
August 22nd, 2008 was my last working day, as an intern, at Irving Oil and I still did not have a job lined up. I decided to go for a weekend ride and camping rather than sulk in my apartment. A friend helped me fix the brakes and change the brake pads on Friday night and by next morning my brakes were in a perfect working condition. I had rented a Tent and Sleeping pad a day earlier for the weekend. I strapped the sleeping bag, the tent, sleeping pad and my back pack on the bike and set sail. I had to use innovation to be able to be able to strap all of them as this bike is not exactly designed for adventure touring. I started riding early morning on Saturday and caught the sunrise when I was on the highway. Last time I remember seeing a sunrise was when we were partying overnight in Lima, Peru.


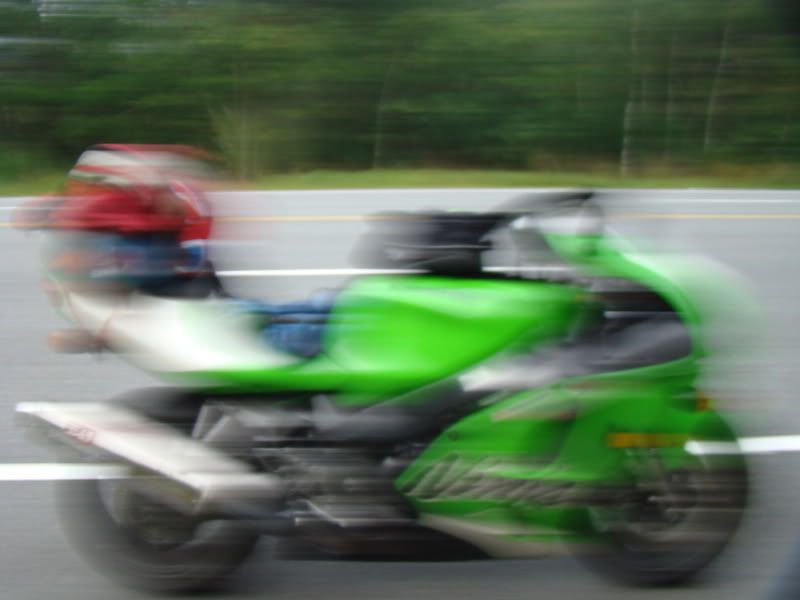
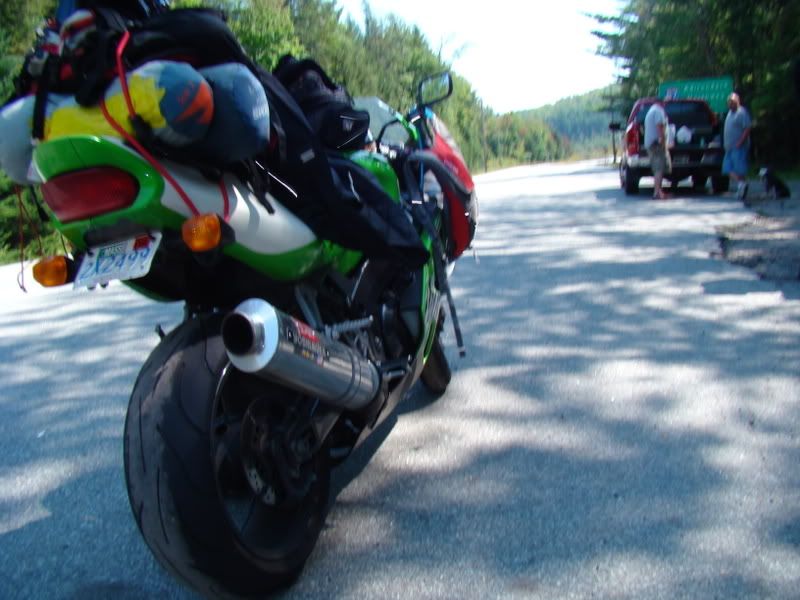
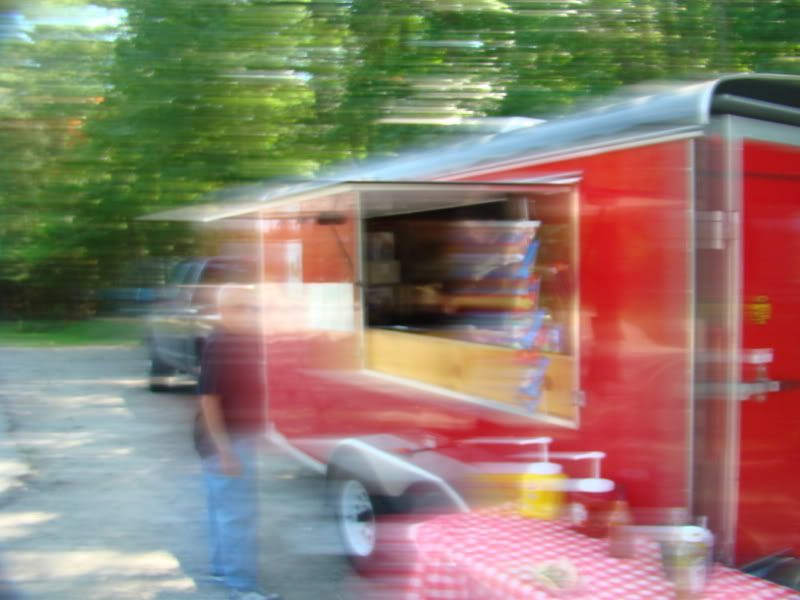
My Camera was acting all funny. I think having been on my tank bag for so long for the past few weeks, something inside it came loose or something. This is the kind of pictures it started taking. The whole image was shaking very vigrously and the camera was making a funny clicking sound


As soon as I entered Vermont, I had plans to hit PDR – Puppy Dog Road, a dirt and gravel track which goes all the way upto Canadian Border. I did some part of it but unfortunately I had to leave that track when I saw the floating bridge, which is a major part of it was closed. Also I had to meet up with a friend for a hike in Burlington, VT. So, after riding some dirt tracks


I hit the highway and slabbed it all the way to Winnoski, VT where my friend lives. Soon me and Adam left for Camel’s Hump. We hiked up for about 2 hours and the view from the top was amazing. I think it will be a great hike in fall for the colors. The hike down took us almost the same time and by the time we reached the bottom, we both were starving. Went to his place, showered quickly and then left with his room mate for getting some food. Nothing better than a huge Burrito when you are starving!

Day 2:

Stayed at my friend's place for the night. Crashed on his couch but got a great sleep after the tiring day or riding and hiking.


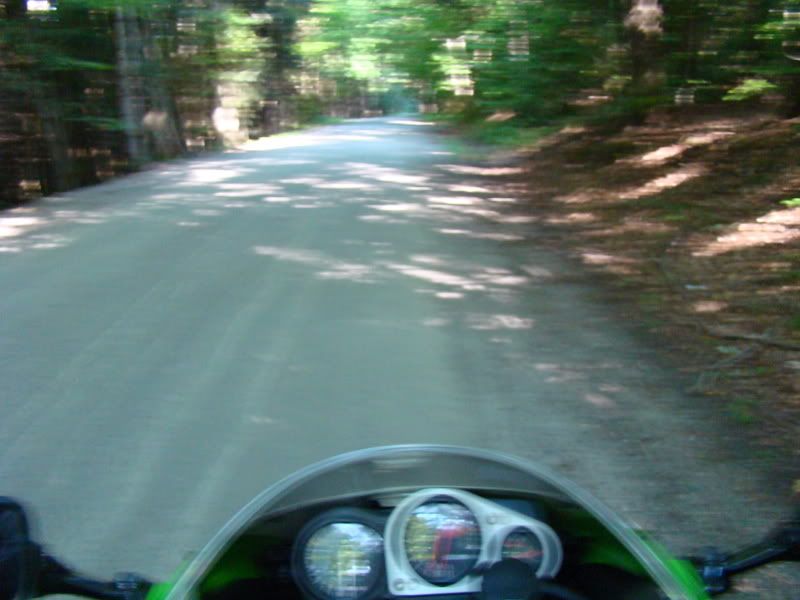
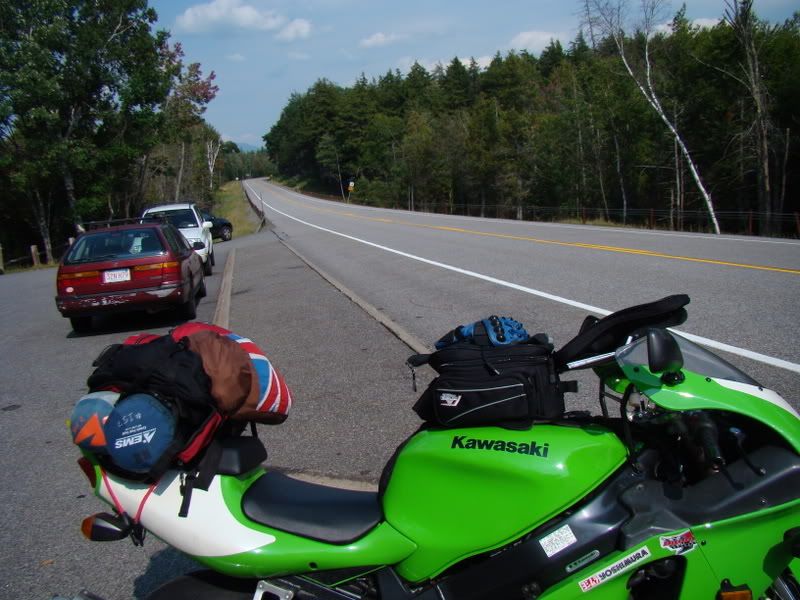
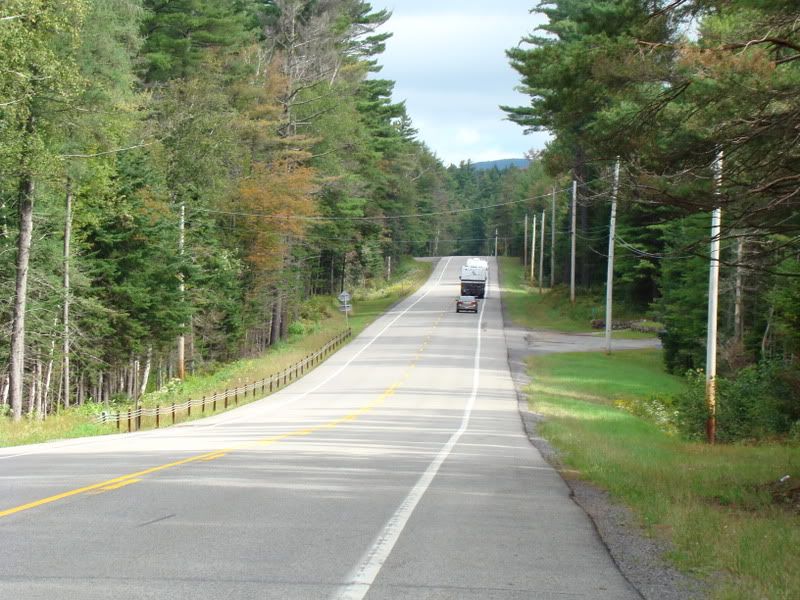
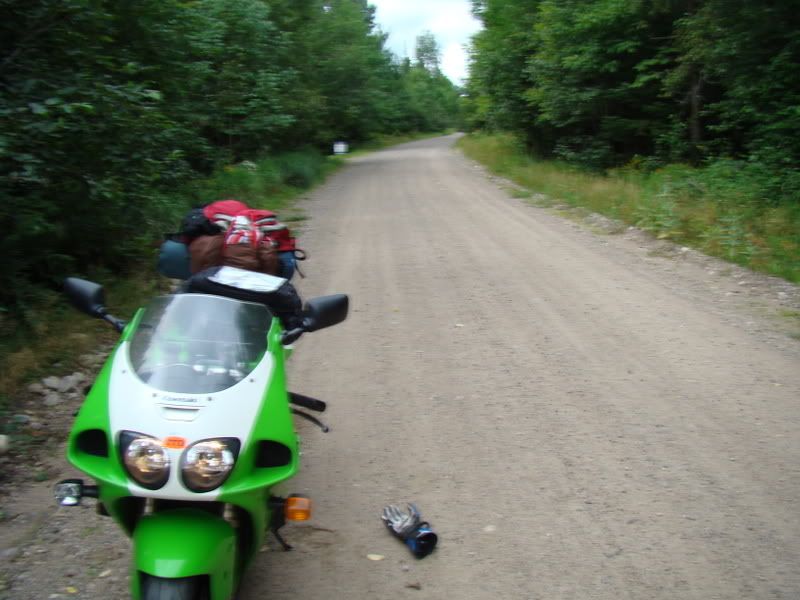
Next morning, hit the road after a long and lazy breakfast. Hit some nice back roads in VT


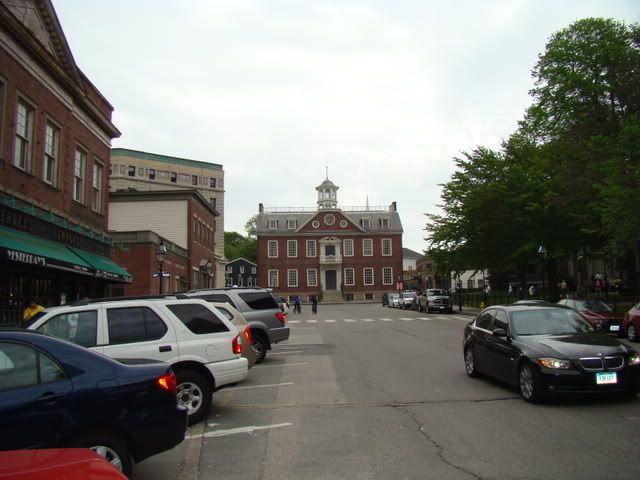
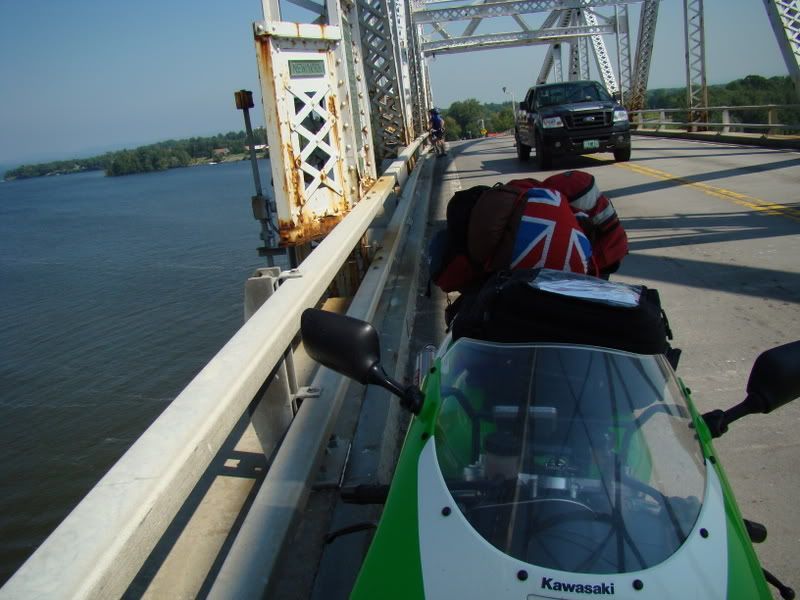
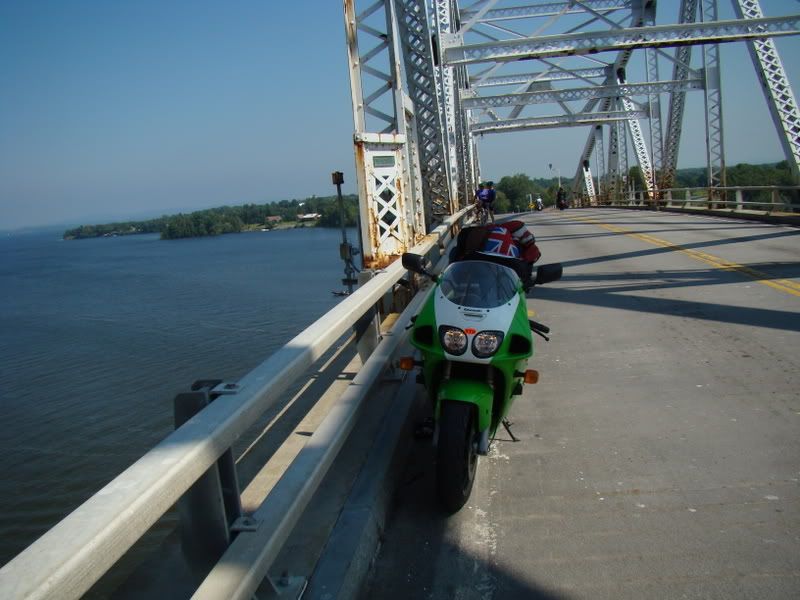
Took the Chimney Point Bridge into NY and straight into Adirondacks Park.


I wish I had one of those


I wanted to do the super secret T road I had heard about and asked around for it. Once there, the road was awesome. It really looked like it was designed by a race track designer.

I was very happy after riding it. Did it about thrice. Very few pics and no pics of the real twisties for obvious reasons.


I needed a small snack break after that


Yogesh, I need a BCMT T Shirt!


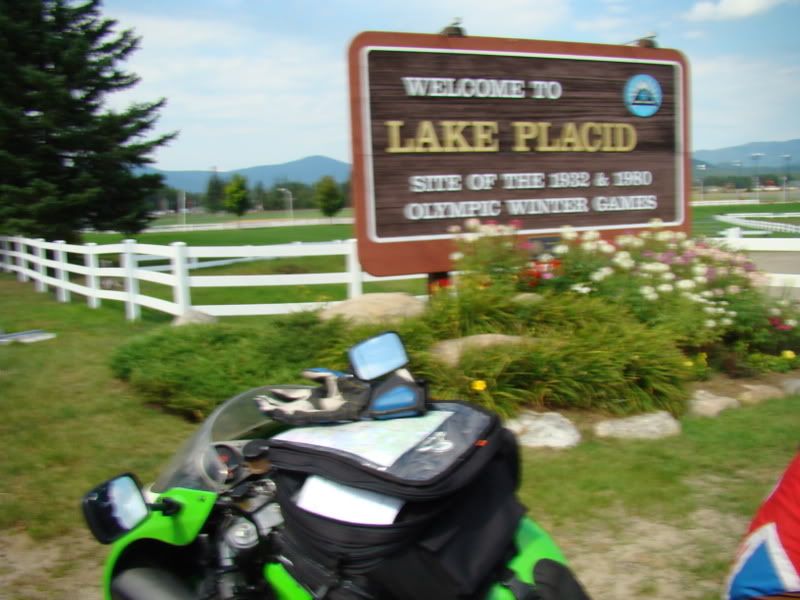
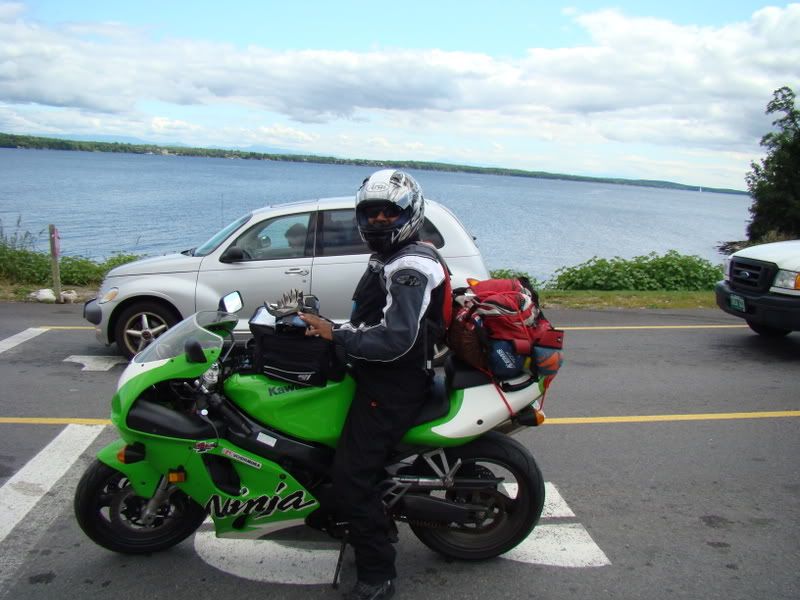
I really wanted to see the Lake Placid. Realised the lake was one of the smallest in the area and could not even find it. Anyways

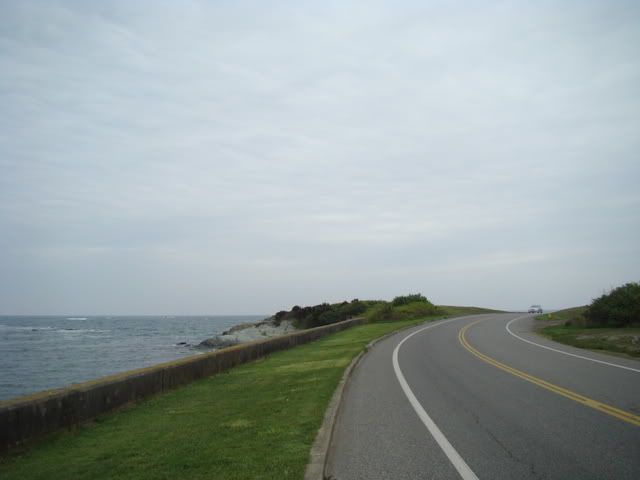
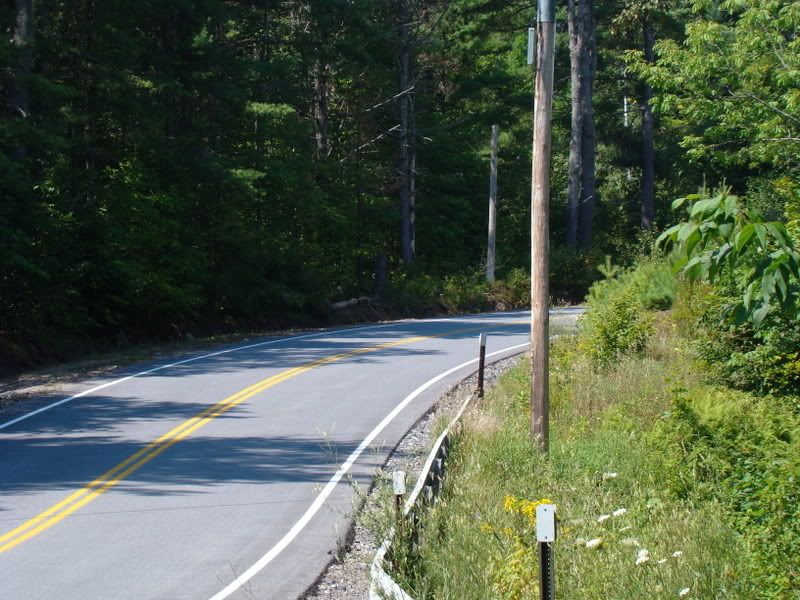
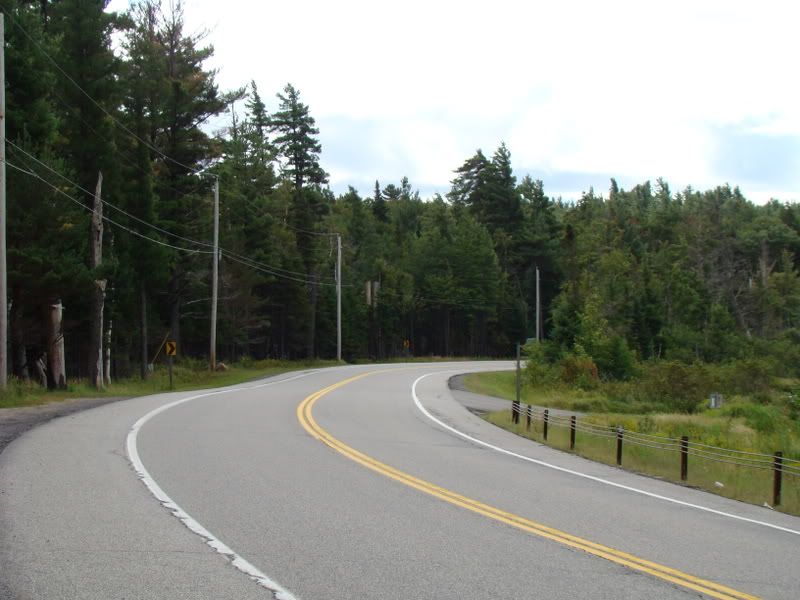
Found out about a camping spot from the info center and headed out there. It was quiet a ride from the Lake Placid. The roads in the park are awesome. Nice and twisty


A small mishap happened over here. I put the bike on the stand and was taking out the camera from the tank bag to take pictures. Suddenly the bike started to tilt towards the right. I had my hand full with the camera and I put it quicly back into the bag and tried to save the bike but it still tipped over. A family had also stopped at the rest stop and helped me pick up the bike. Small damages – Indicator cover broke but would still would need to fix the whole assembly, scratch on the headlight cowl and sctartches ont eh lower fairing. Anyways, as long as no major damage happens, I am fine with it. The carbs were flooded so had to wait for them to be normal before I started again.
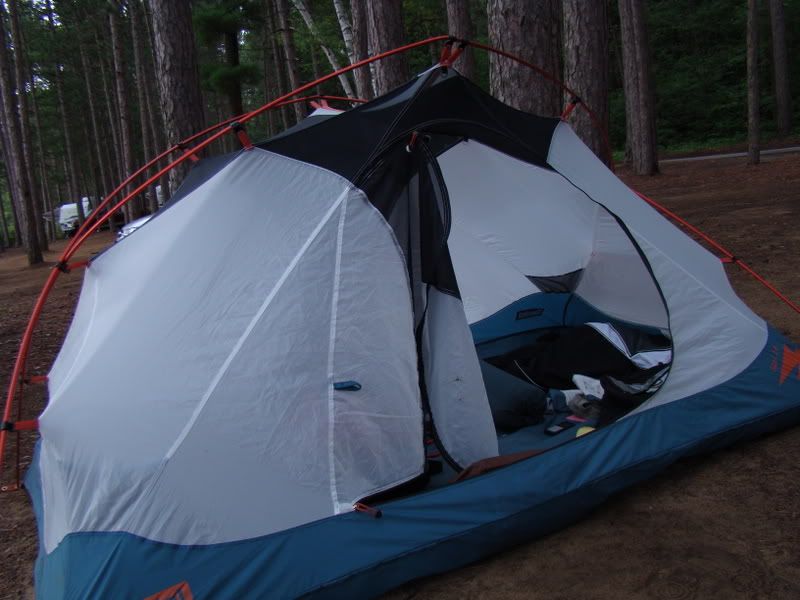
I camped at Fish Creek Pond. I realized the camping spot was expensive - $22.50 but was in no mood to find the free spots and did not have enough tools like a coking stove or any food to camp alone. So set up camp in the public camping area.


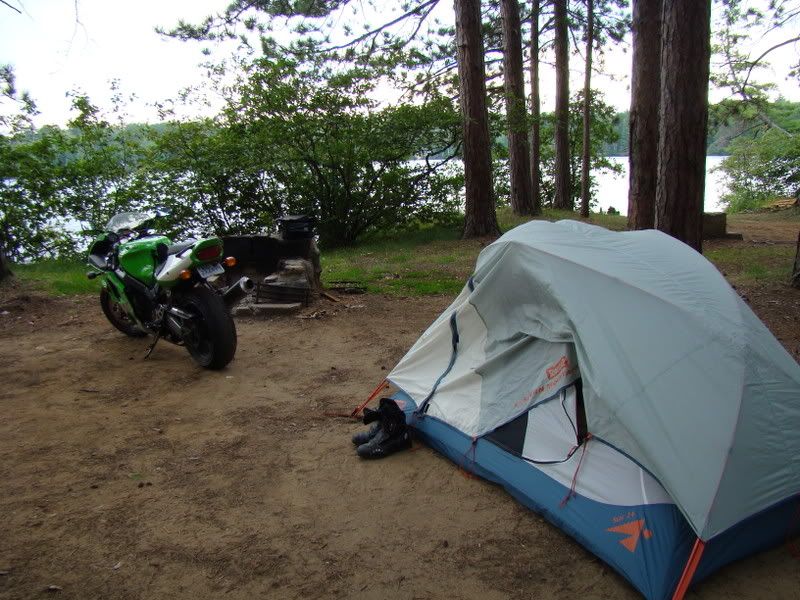
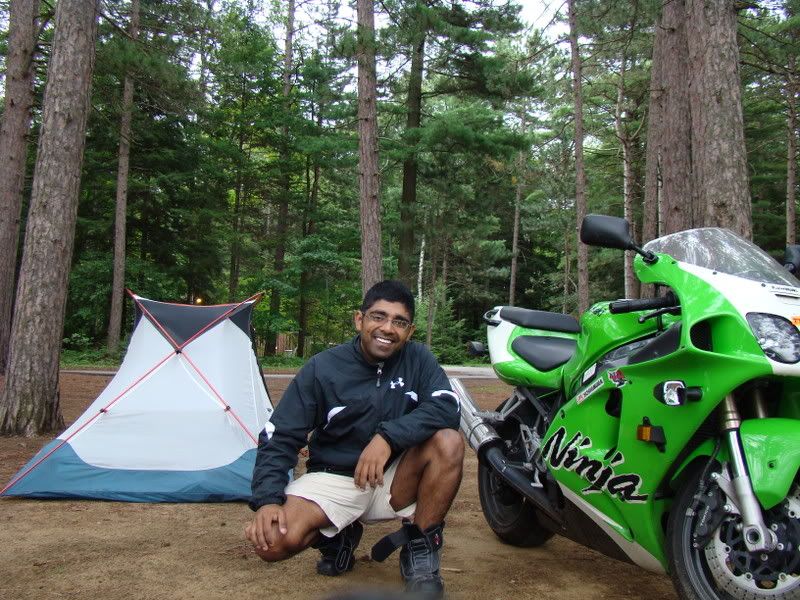
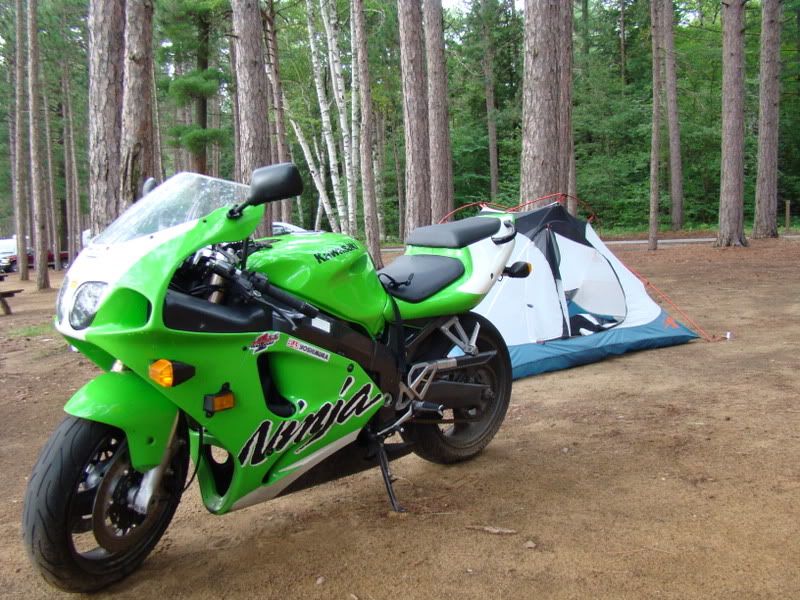
My Campsite was unique in many ways. I was the only Indian in the whole park. I was the only one on a bike and I was the only one who was alone


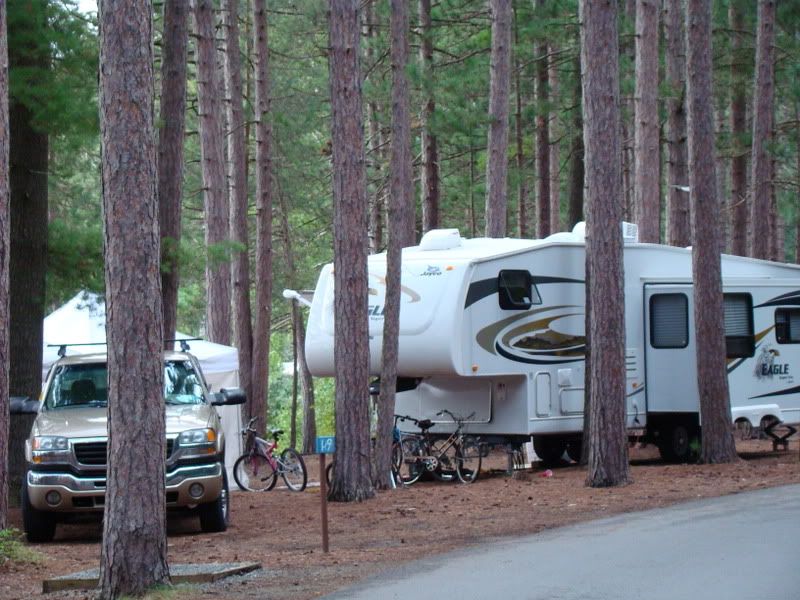
This is how a regular campsite looked like


This is how mine looked


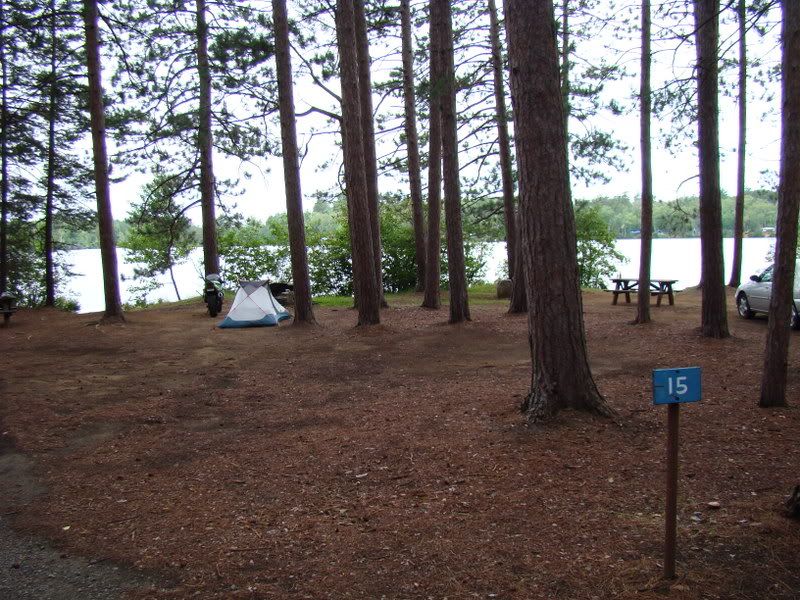
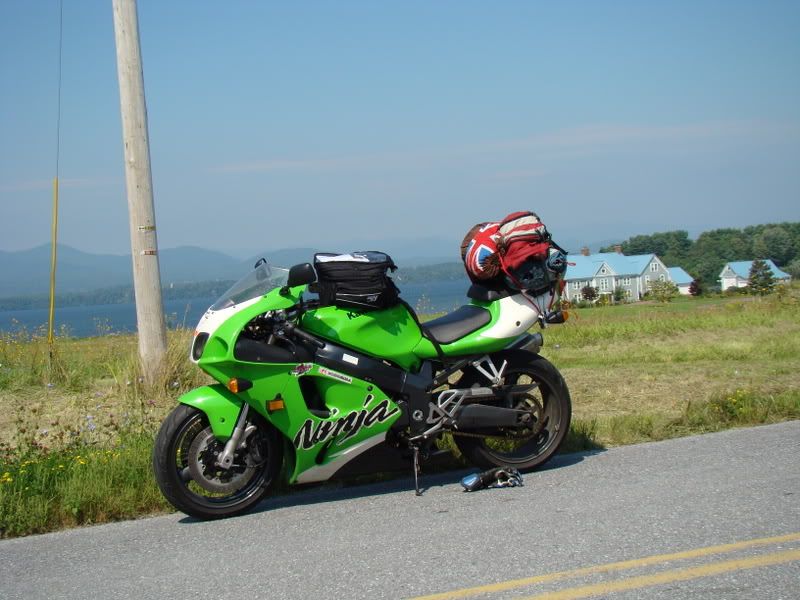
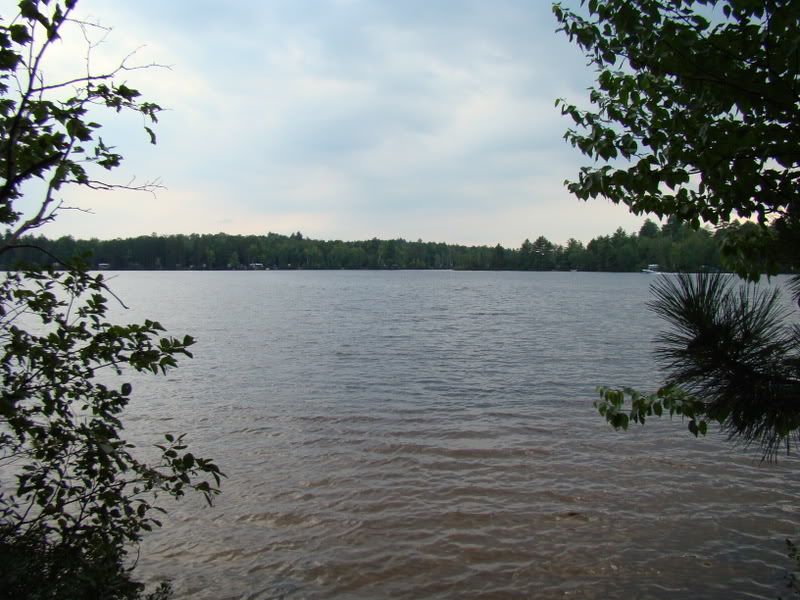
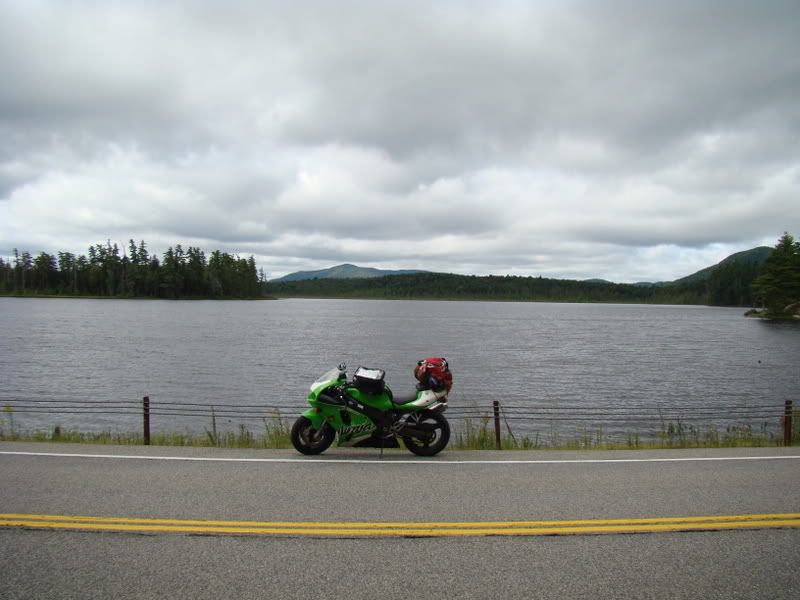
One of the reasons for choosing this park over others was it was one of the few which were just long the water. View from my campsite


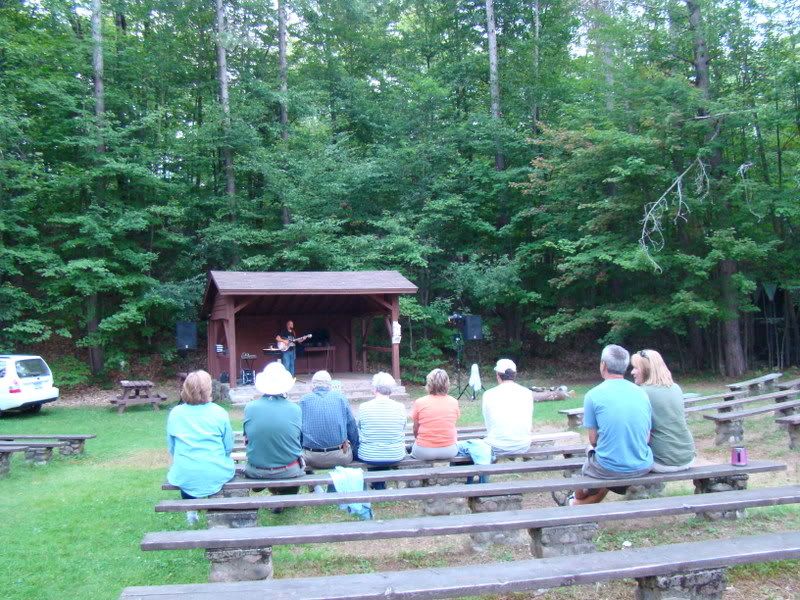
The campsite also had a live musician playing in the evening. Went and listened to some old country songs.


Now I was feeling a little tired and did not have any food with me. Had some Icecream from a Ice Cream Truck in the park and then rode to the local deli shop to get a Subway Sandwich. Also got a beer, came back to the site and had probably the longest Subway Sandwich dinner ever just looking towards the lake and enjoying the isolation.
Retired into my little home for the night


Day 3:

Got up and just lazed around in the quite tent. Finally it was time to leave and before I left I spent some time reading a book sitting on the picnic bench next to the lake. I decided to go to Plattsburg and take the ferry over to VT and then slab it out on the highway.
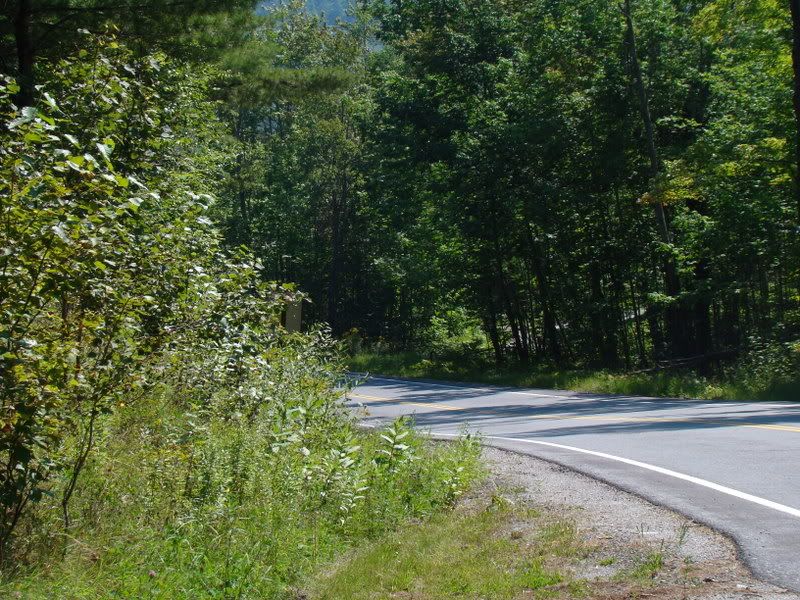
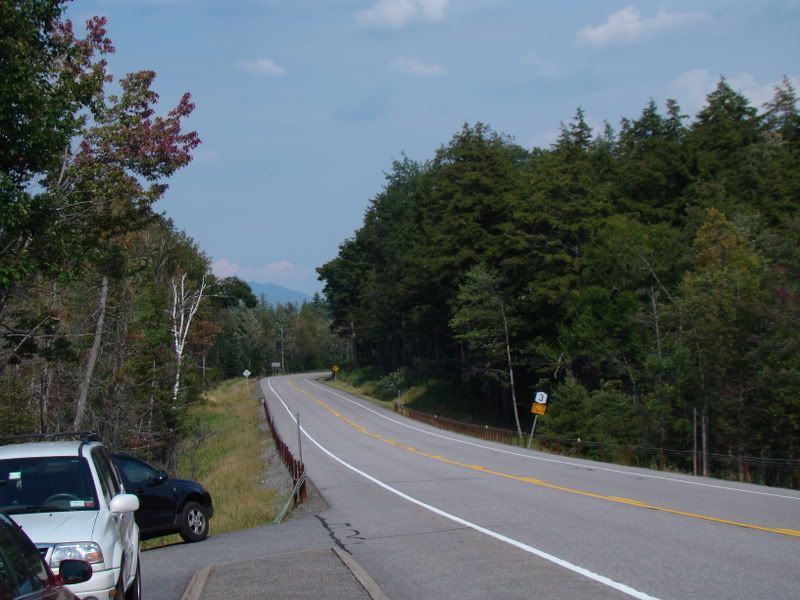


Nice Roads again


I went off course at one point after missing a turn but took the opportunity for taking an awesome pic


My thirst for dirt road never ends. I found one and started riding thinking it was leading to a lake


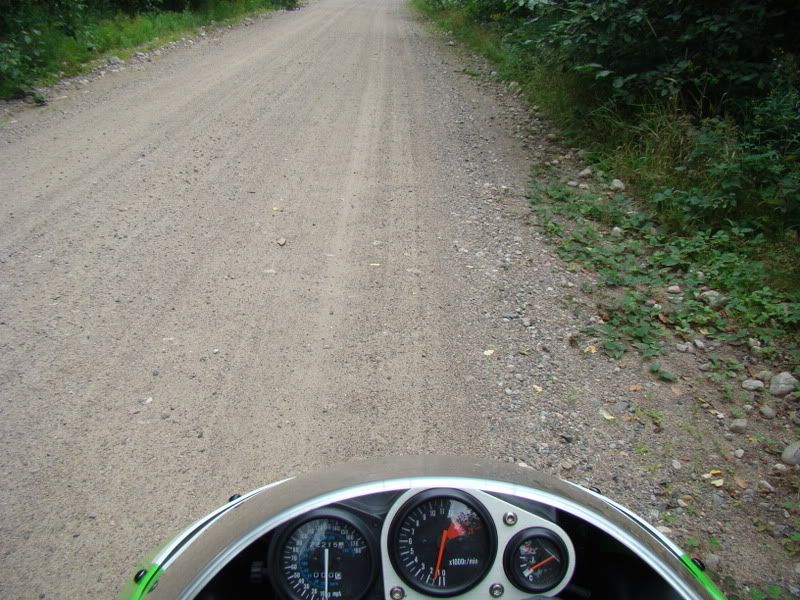
After riding for a while I realized it was going nowhere only to later realize it would take me back to the original highway. Anyways, the short 30 min ride on it was awesome


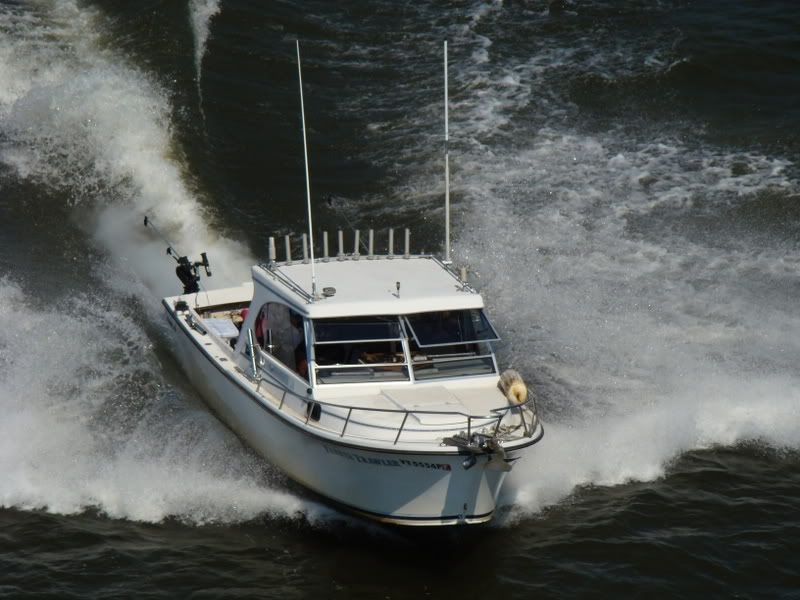
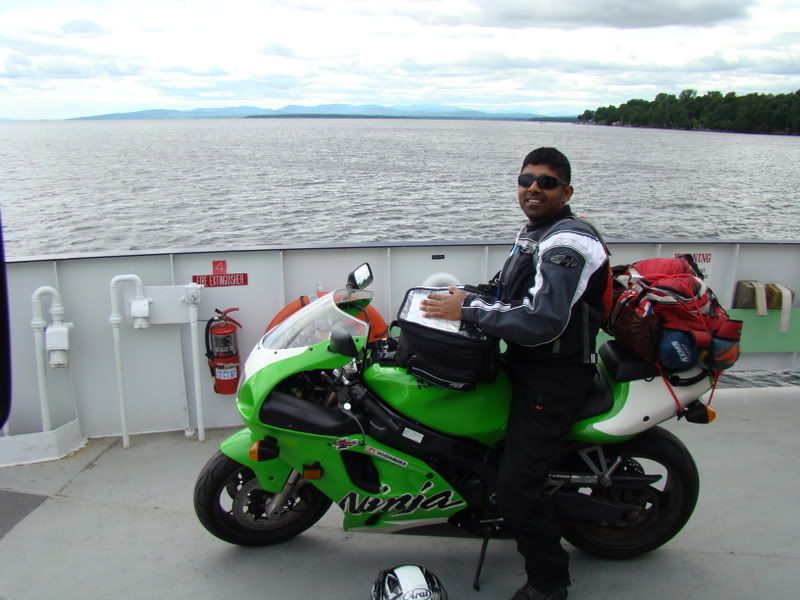
I reached Plattsburgh and after a much needed lunch (had not eaten since morning) I headed out for the Ferry


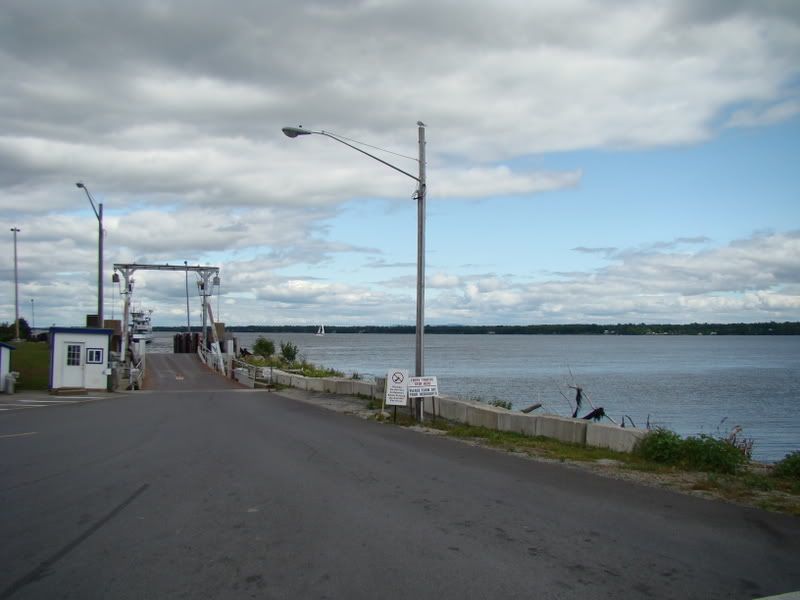
My bike’s first boat ride


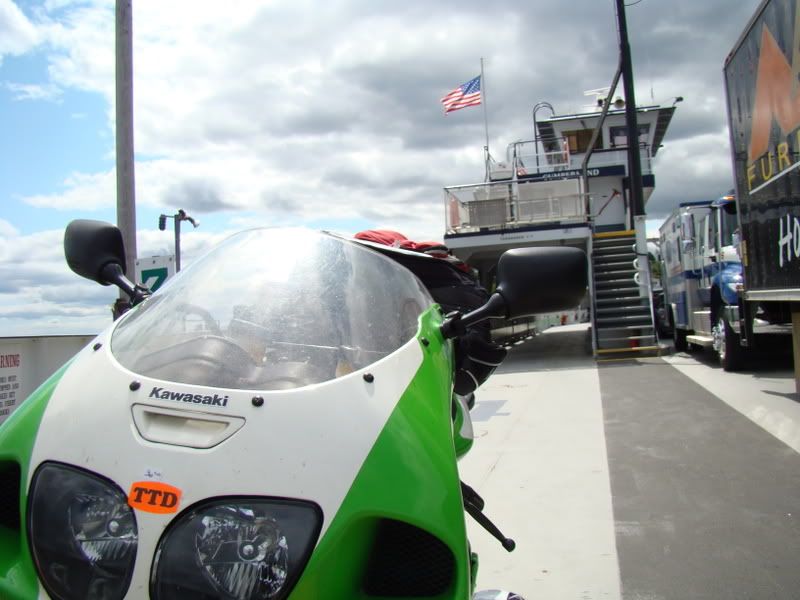
After I was dropped off, went through Grand Isle and this road to reach the highway I-89


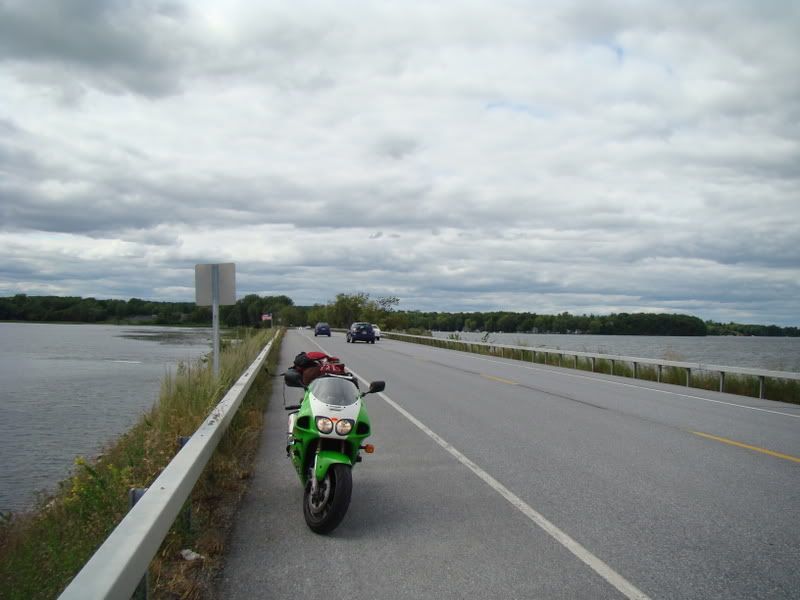
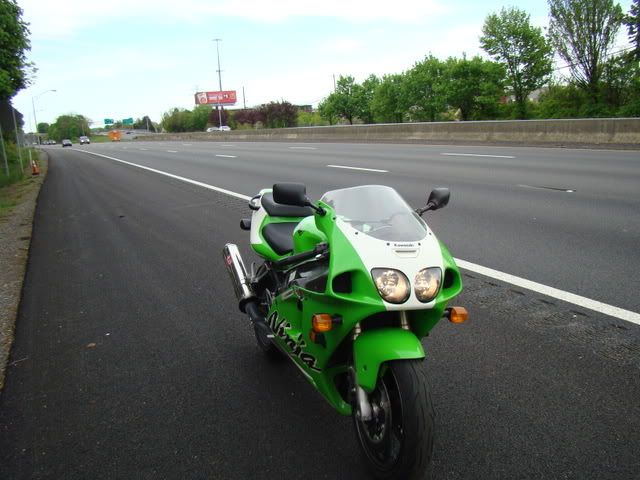
Once I was on the highway, I slabbed it out all the way to Portsmouth only stopping for gas and a coffee.

I came back poorer, unemployed but happy! Need to find a job now to keep paying for the gas!

Sunday 17 August 2008

Motorcycle Suspensions Part II

Source: http://www.sportrider.com

Now that we have seen what compression damping is, we should also know about rebound damping. For perfect suspension settings, these have to be syncronised.

Remember that compression (or bump damping) occurs when the wheel contacts a bump and the suspension compresses. Rebound (or tension damping) occurs as the spring forces the shock or forks to extend. Most current sport bikes have external adjustments for both compression and rebound damping as well as spring preload. On most forks, the screw adjustment at the top is rebound damping (not to be confused with the larger spring preload adjuster); the one on the bottom near the axle is compression damping. (An exception would be a Marzocchi or Paioli fork.) On the shock, the adjuster on the reservoir is for compression and the one on the shaft eyelet is rebound. These adjusters have their limits and affect only a portion of the entire damping. In other words, external adjustments can't make up for poor internal valving design; the adjustments merely fine-tune the valving action.

Of course, external adjustment can never make up for extremely worn-out dampers either, so if your bike is wallowing along like a '63 Cadillac Fleetwood Brougham with blown-out shocks, you might want to do some rebuilding or replacement before you spend the rest of your life playing
with "clickers."

Let's look more closely at rebound damping. The major trade-offs involve traction, a feeling of control and plushness. If you look at the graph you'll see they're all plotted on the same graph. There are no numbers on the y axis because these are largely subjective quantities. In other words, we are discussing "feelings." You will notice that traction starts out at a low amount at very light (quick) rebound damping settings, increases to a maximum, then decreases again. Why? At very light rebound settings, the chassis is uncontrolled. When the wheel hits a bump the shock is compressed. Then the wheel extends without any control; in fact, it extends too far. Because the sprung weight of the chassis has mass and is moving upward, it wants to pull the wheel off the ground, thereby losing traction.

If you direct your attention to the right side of the traction versus rebound damping curve, you will note that at high rebound damping, traction has suffered. This is due to the wheel not being able to follow the ground simply because it can't respond quickly enough. The suspension compresses as it hits a bump. Then, it can't follow the ground (return to its original position in the travel) fast enough after the crest of the bump to maintain traction. When this is excessive it is called "packing." Somewhere between these two rebound damping extremes, traction is at maximum.

You may have noted from your own riding experience that when rebound damping is very light, the feeling of control is minimized. The bike "feels loose." As you increase rebound damping, the feeling of control increases. The chassis isn't moving around nearly as much and the bike feels more "planted" and stable. When rebound damping is very slow, meaning there's a lot of damping, traction is so poor that the feeling of control suffers as well. Once again, somewhere between the two extremes the feeling of control is maximized.

The third quantity is plushness. At very light rebound damping, the wheel moves very quickly and the feeling is plush and mushy. As rebound damping is increased, there is more and more resistance to movement, and at maximum damping the wheel is "packing" so much, the chassis is sucked down in its travel and has not recovered for the next bump. This means the following bump has to overcome the added spring force due to this compression and the result is a jolt to the chassis upon impact.

The key thing to note here is that there is a trade-off. As you can see, maximum traction does not necessarily occur at the same damping setting as maximum feeling of control. Herein lies a problem.

Quite often riders have mistaken ideas about how much damping should be used. They think the faster they are (or the faster they want to be), the more damping they need. Nothing could be further from the truth. In fact, after a certain point, traction, control and ride quality (plushness) are all sacrificed. And, even with rebound damping settings in the ballpark, in other words, between the two peaks, there is a trade-off. Of course, there is room for personal preference, but there's not much value in having all three qualities suffer.

Here is one word of caution: The only way you will ever know if you have less traction is if you are at the limit of traction. This is a very delicate thing. If you are not at the limit of traction-i.e., sliding the tire-you can't feel the difference in traction. So street riders will want to focus on the feeling of control and save traction experiments for racetrack days.

The job of suspension engineer and suspension tuner is to make these two peaks-traction and the feeling of control-as close to the same point as possible. This is done by reshaping the damping curve internally and requires an understanding of high- and low- speed damping and valving piston design. The relationship between damping, spring forces, weight bias and all the other factors that make a bike handle are also very important. Overwhelming? Naah...one thing at a time. Or should I say, one click at a time.

Saturday 16 August 2008

Suspension Introduction

Recently I was facing a few issues with my suspension. Its working fine but I was not sure how to set it up. What is Compression Damping or Rebound Damping and other terms. I am going to share with you what I am learning. Please feel free to comment with anything you know.

Today we will talk about: Compression Damping

Source: http://www.sportrider.com/tech/146_9608_tech/index.html

Remember that damping is viscous friction. It turns mechanical energy into heat and is sensitive only to shaft velocity, not position in the stroke. The fundamental difference between compression and rebound velocity profiles is due to the fact that compression is forced by the shape of the bump, while rebound, though affected by other forces, is pushed mostly by the spring. This means that, for compression damping, the shape of the bump is far more important than its size. A square-edged bump results in extremely high shaft velocities, while even a big dip will typically cause fairly low velocities.

Traditionally, many have considered compression damping a necessary evil. In other words, less was better. This thought process was created because of the style of damping that was prevalent in the past. If you recall the "Technicalities" on cartridge forks [August 1994], you'll remember that damping rods have what we call orifice-style damping, which is both too harsh and too mushy at the same time. With the advent of cartridge forks and Emulators for damping rod forks, the possibilities have drastically changed because we have much more control of the shape of the damping curve.

To study the effect of altering the compression damping, let's look at damping as a whole; i.e., ignore the fact that the shape of the curve is important. The amount of compression damping affects traction, plushness, bottoming resistance and dynamic dive.

Consider bottoming resistance first. It makes sense that the more compression damping, the more resistance to bottoming (refer to the curve). It may seem obvious, but you need enough, yet not too much. The compression damping force is added to the spring forces to resist bottoming. At the same time the bottoming resistance increases, the feeling of plushness decreases. But what the heck is going on with the plushness curve on the left of the graph at minimal damping? With very little damping, the plushness can actually decrease. This occurs only on big hits when there is bottoming. On small hits, less damping still means more plushness.

Let's look at how compression damping affects traction. Imagine you're riding along and you hit a bump. If there is too little compression damping, the wheel will not meet enough resistance as it compresses the fork or shock spring. Not enough energy has been dissipated at the crest of the bump. Because the wheel itself has mass and the mass is moving upward, it wants to remain in motion and continues to move upward, compressing more than the amount required to handle the bump. This means the tire will unweight and possibly even lose contact with the ground as it crests the bump. This unweighting produces a loss of traction.

As compression damping is increased, this phenomenon decreases and traction improves. If there is excessive compression damping, there will be too much resistance to movement and the wheel will not move the entire height of the bump. This means the center of gravity of the motorcycle (the sprung mass) will be displaced upward. Not only can this be the cause of an uncomfortable or harsh ride, but this upward velocity of the chassis will tend to unweight the wheel, losing traction. In extreme cases, the wheel will come off the ground entirely and skip over the bumps. This is one of the reasons why in bumpy turns at extreme lean angles you may have experienced difficulty holding an inside line. The bike will tend to drift to the outside of the turn.

With too little compression damping, the wheel continues moving up farther than it should, while with too much compression damping, the entire chassis moves vertically. In either case, you lose traction.

The last curve on the graph is called maximum dynamic dive. This is distinctly different than static sag, which is measured with the bike standing still. Maximum dynamic dive is the amount the suspension compresses when hitting bumps or under braking. For example, under braking the front end will dive. More compression damping allows the chassis to dive less. The maximum amount of travel used is determined by a combination of the spring forces and the compression damping force.

If there is no damping of any kind and the brakes are applied, the front end will dive and begin to oscillate. If you're braking for a long time, the friction will eventually stop the oscillation and you would notice the fork is compressed. Since damping is nonexistent when there is no suspension movement, the amount it ends up being compressed is totally determined by spring forces. Maximum dynamic dive, however, is affected by compression damping as well. More damping means the forks will compress more slowly and not as much. Obviously, less damping will produce the opposite results.

If you're hitting a series of bumps with too much compression damping, the suspension will actually extend as the wheels hit successive bumps. This is the opposite of the condition called "packing," when there is too much rebound damping and the suspension is being sucked down, not having time to return fully before the next bump.

Obviously, there are trade-offs. As bottoming resistance increases, plushness decreases and maximum dynamic dive decreases. At some point between the extremes, traction is maximized. Street bikes will be best suited by being biased with less compression damping than a race bike. Remember, you will pay prices with both too much and too little. One of the biggest misconceptions about compression damping is that the faster you are, the more you need. A better goal would be to determine proper spring rates and use only as much compression damping as you need to control bottoming and dive.

Keep in mind that compression damping is dependent on movement. If there is no movement, there is no damping. Be aware also that the shape of the damping curve is critical, in not only how much damping you have, but how progressive it is as well. But that's another story.

Tuesday 20 May 2008

My First Trip on my Kawasaki Ninja ZX-7R to Newport, RI

I endeavored two years of hardships, long study hours, assignments, classes and late night parties. It wasn’t easy. What made it even more difficult was I did not have a bike for almost two years. However, as we were graduating, I decided to change that. I somehow arranged for some money and got my bike. Now I was looking for a chance to take it for a long ride. Finally I got a chance a day after our graduation. I graduated on 17th may and got an invitation to visit a friend and his family in Newport, RI. It is a old but filthy rich town by the sea. It is known for its huge mansions and was home to Vanderbilt family, one of the wealthiest in world’s history. It is estimated that these mansions would cost more than $250-$500 million to build today.

I got up lazily because I had checked the weather the previous day and it said it would rain and hence I thought I will not be able to ride. Having partied till 05:00 in the morning I was in no mood to go in a car. However the weather was clear. I got ready, unveiled my bike and left.

As soon as I hit I-95, there was miles of traffic. Thought of turning back but then this is not what we xbhpians do. I could see the coolant temperature going up being the traffic. Soon the traffic opened up and so did the throttle.


The traffic got thinner and thinner and soon I saw a very empty stretch of the highway on 28 S. I was in 6th gear and as soon as I hit 7,000 RPM, the bike took off. I reached 120 mph – 192 kmph. But I could see cars in my lanes further down and I slowed down. Still had to brake as I got close. Technically I was approaching those cars at 80kmph which used to be my cruising speed on my pulsar. One is a while I would get off the bike to check on my bag which was not tight and also to take some pics. It was very windy and the first time I was riding so fast so I did not cross the 110 mph mark.


Soon I was in the town. An old town which rich flavor.

New Port, RI City Center


Headed to my friend’s place and was warmly welcomed by his mom. Hung around with my friends. I technically reached at the end of the party J. Then a friend took it for a little spin. He said he used to own the exact same bike in the past. I went around town and drove on the oceanic drive. The view was phenomenal. I stopped at the most beautiful mansion called ‘Marble house’ and I was parking the bike, the guard freaked out to see a biker near the billion dollar mansion. He said it was closed and would not let me take pictures. Anyways, I went on and saw the Oceanic drive it was beautiful.
My Kind of Baywatch


Oceanic Drive

Where to go Next?

It started to drizzle now. I did not want to ride in the rain. I did once and it was not a good experience. That day I rode on emergency breakdown lane at 20 mph as the bike was fishtailing if I rode more than 40 mph. Anyways, back to my trip. I just rode around took some pics and then left for home. Luckily it did not rain very hard though the drizzling made the roads wet and hence I did not overspeed. It was still a great ride back.

I realized that long rides on Superbikes is not a very great idea. I would need to raise the clipons for a better ride position. Also its hard when you get some traffic.